Binder Cover


Materials


- 0.4m fabric
- thread
- binder
Instructions

- Cut out a rectangle that is long enough to cover your binder and cover the inside panels. Our total measurement was 44” x 12¼” this gave us ¼” seam allowance in the height and ½” ease lengthwise.

2. Fold back each short edge ¼” press and topstitch.

3. Place the fabric right sides down and place your binder on top.

4. Fold over the fabric to cover the inner panel. Pin in place on the top and bottom.

5. Slide binder out and sew the top and bottom.

6. You will have unstitched edges where the rings of the binder sit. Fold these to the wrong side, press and topstitch.
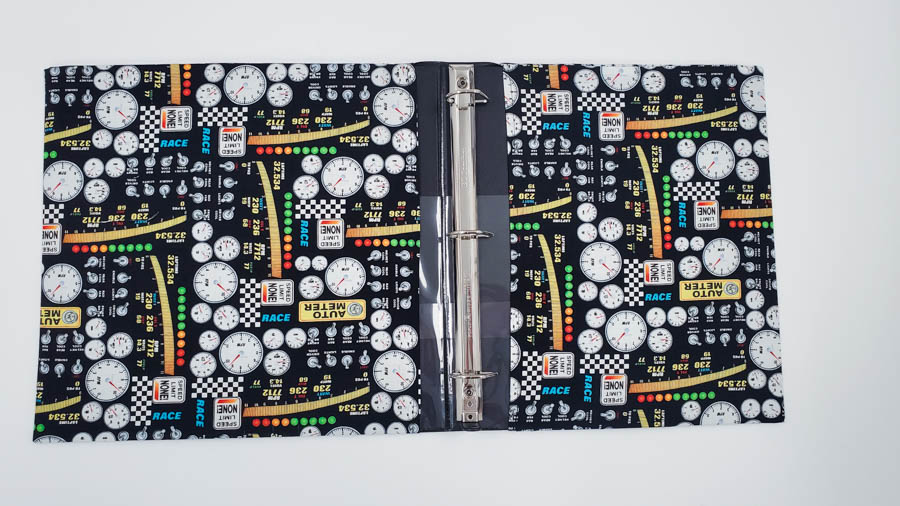
7. Slide your binder into its new cover!


Click here for the matching pencil case pattern!
