Tip & Trick: Exposed Zipper
Mastering an exposed zipper is critical in finishing your garments and making them look professional. A lot of people are intimidated by zippers but once you get the hang of it you will be cruising through them!
Instructions

- Fuse a 1″ wide strip of suitable weight interfacing on the wrong side of your fabric where you will be placing your zipper.

2. Place the zipper next to your fabric and notch or mark the end of the zipper.

3. Place your fabric right sides together and stitch the seam from the notch down to the end of your fabric. Press open.

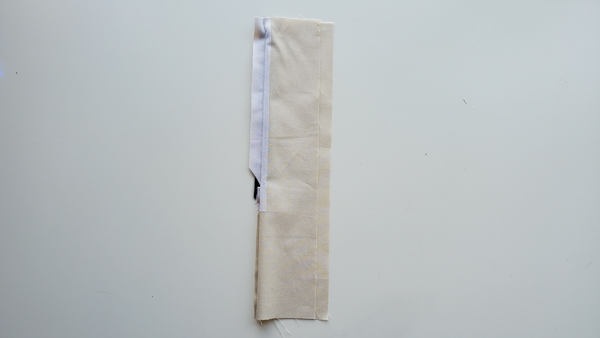
4. The seam allowance for your zipper will be decided based on the width of your zipper teeth. It will need to be wide enough to expose the zipper teeth plus a little extra for room so the fabric doesn’t get caught. Draw a diagonal line starting a 1/4″ above your stitching and extending past it to width of your zipper seam allowance. Clip into the seam allowances on a diagonal. Do not clip into the thread, just above it. You may find it easier to cut each seam allowance separately.

5. Press your seam open then, fold and press over the allowance for the zipper.

6. Fold down the small triangles of the centre bottom and press down.


7. Place the zipper facing up below the triangles making sure not to cover the end of the zipper. With a zipper foot attached to your machine. Stitch across zipper tape and triangles, back tacking at either end.

8. Flip zipper up right way round, tucking the zipper tape and triangles to the inside. Align the pressed and folded edge along the zipper tape and pin.


9. Turn back one side of the garment back to expose the seam allowance and zipper tape, re-pin seam allowance to zipper tape only and remove pins from the front, do the same for the other side of the zipper.
10. Stitch along the zipper length and repeat for other side of zipper, press.

