How to Read a Pattern
Getting started with sewing while using a pattern can be overwhelming. With all the symbols and lines it can definitely make you close it back up and put it in the envelope! There is no need to be intimated, once you understand what all the symbols mean.

Front Envelope

- Brand Name: we carry McCalls, Butterick, Burda and Vogue
- Style Number: you will need to provide this to our staff so they can grab the correct pattern for you
- Size Selections: patterns come in different sizes choose the one that will fit you
- Pattern Style and Variation Choices: Some patterns will come with multiple variations of styles, they will show this on the front or on the line drawings on the back
Back Envelope

- Difficulty Level: Some patterns will include a difficulty level
- Fabric Suggestions: patterns will give you fabric suggestions that are best suited for the pattern. It will also list the notions that you will require to make the pattern
- Flat lay Styles: The back of the envelope will have a flat lay sketch of all styles
- Body Measurement Chart: Measure yourself and compare to the chart to find out what size you need
- Finished Garment Sizing: This will tell you what the finished sizing of the garment will be with ease
- Fabric Length Required for Size and Style: Once you decide on your size you can look on this chart to find out how much fabric you will require to complete the project
Picking Your Size

- Take your measurements that are listed on the envelope
- Bust – measure around the fullest part of your chest and wear the type of undergarments you are most likely to wear with the finished garment.
- Waist – Measure the smallest part of your waist.
- Hips – Measure around the fullest part of your hips.
- Compare your measurements to the back envelope. Your measurements could match up with more than 1 size. If this happens you should go with the larger size. You can always go down a size once the fabric is cut but you can’t go up one.
- For example
- Your Measurements – Bust: 30″ – Waist: 23″ – Hip: 32″ you would choose a size XS for this pattern.
**Note that the pattern sizing can differ from pattern to pattern**
Fabric and Notions

- Review the suggested fabric’s on the back of the envelope. These are the fabrics that will best suit the style, shape and function of your pattern.
- Pick the Variation of the pattern you are going to make. This will impact how much fabric you will need.
- You will notice that each style has the option for 45″ wide fabric or 60″ wide fabric. You will need to know the width of your fabric to know how much to get cut.
- If you have picked stripes, plaid, or directional fabric you will need to get more than the recommended amount to account for matching the pattern.
- Don’t forget additional fabric such as interfacing or lining.
- Under the fabric suggestions there may be a list notions. These are buttons, zippers, trims, etc. You will be told the exact size and amount to get for these notions.
Cutting out your Pattern

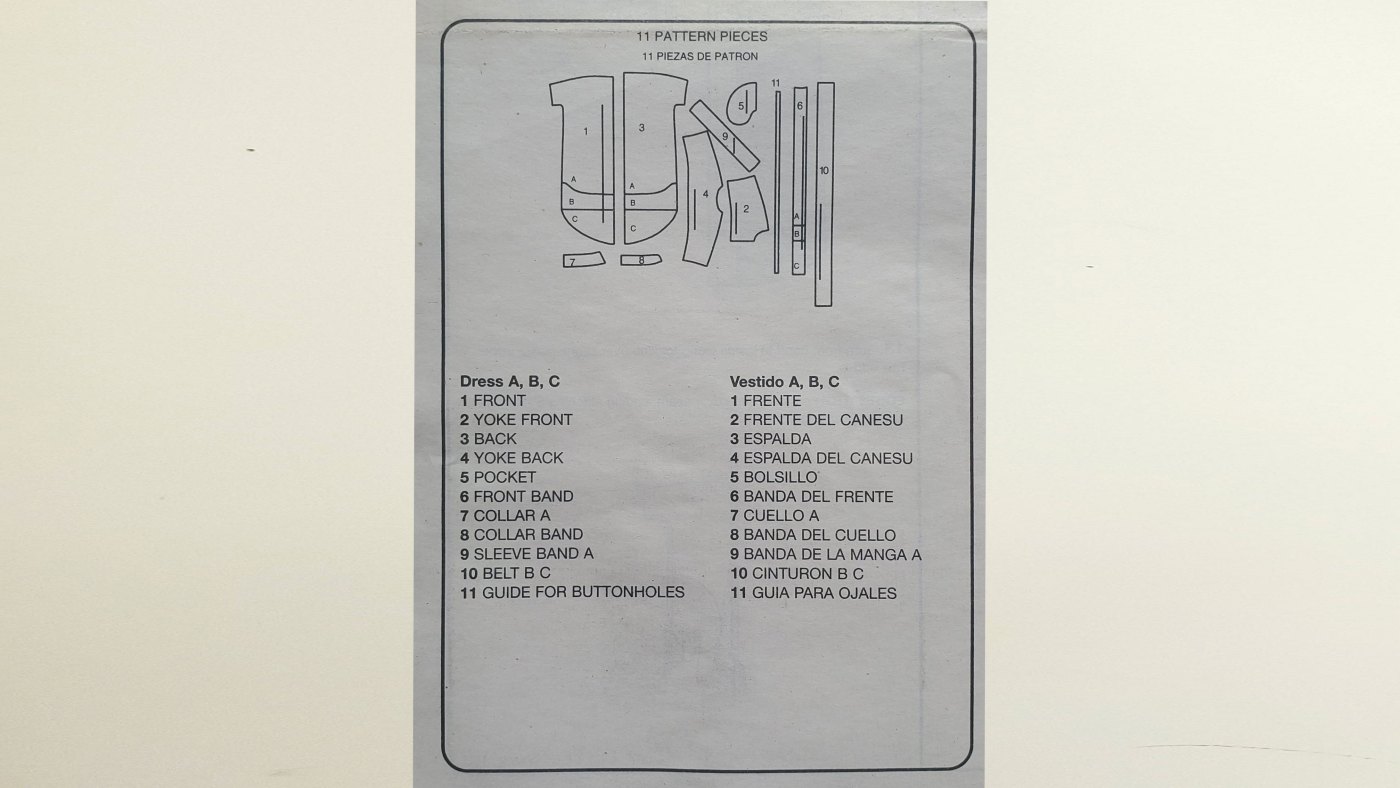
- Read over your pattern instructions before cutting anything out. This will show you what pattern pieces to cut out for the style you will be making. It will also show you where to place the pattern pieces on your fabric to fit them.
- Look over your pattern sheets to make sure all sheets are there.
- Find the line on your patterns that represent the size you have picked. You could highlight this line if you are having difficulty distinguishing the different lines.
- Cut around all the pattern pieces you need. Take your time and be careful not to cut a different size
- Once your pieces are cut out you can go around them and notch any markings. Such as darts, gathers and pleats. This is also the time to shorten or lengthen your pieces.
Cutting out Your Fabric

- Following the layout provided in your instructions, you can put your pattern pieces on your fabric. To avoid confusion circle around the layout for your style and size. Make sure to place any pieces with the “Place on Fold” logo on the fold of the fabric.
- Follow the grainline indicate on your pattern, this is done by measuring the distance between the arrow and the selvedge of the fabric and making sure it is the same distance all the way down the arrow.
- All pattern pieces will indicate how many of each to cut out. This may mean you will need to cut around a piece and then move it to cut around again.
- Either pin or place fabric weights on your pattern pieces to hold them down. Making sure that the pattern and fabric are flat. If your pattern is wrinkly you can press it flat with a warm, dry iron.
- Check you our Fabric Weight DIY here https://blog.fabriclandwest.com/tip-trick-fabric-weights
- Make note of any markings on the pattern I.e. Buttons, notches or gathers. Now is the time to mark them with a fabric pen or chalk.
- You are now ready to cut out using fabric Scissors. Take your time.
- Once your fabric is cut out you are ready to follow the provided instructions and sew your garment together.
Reading Pattern Symbols


